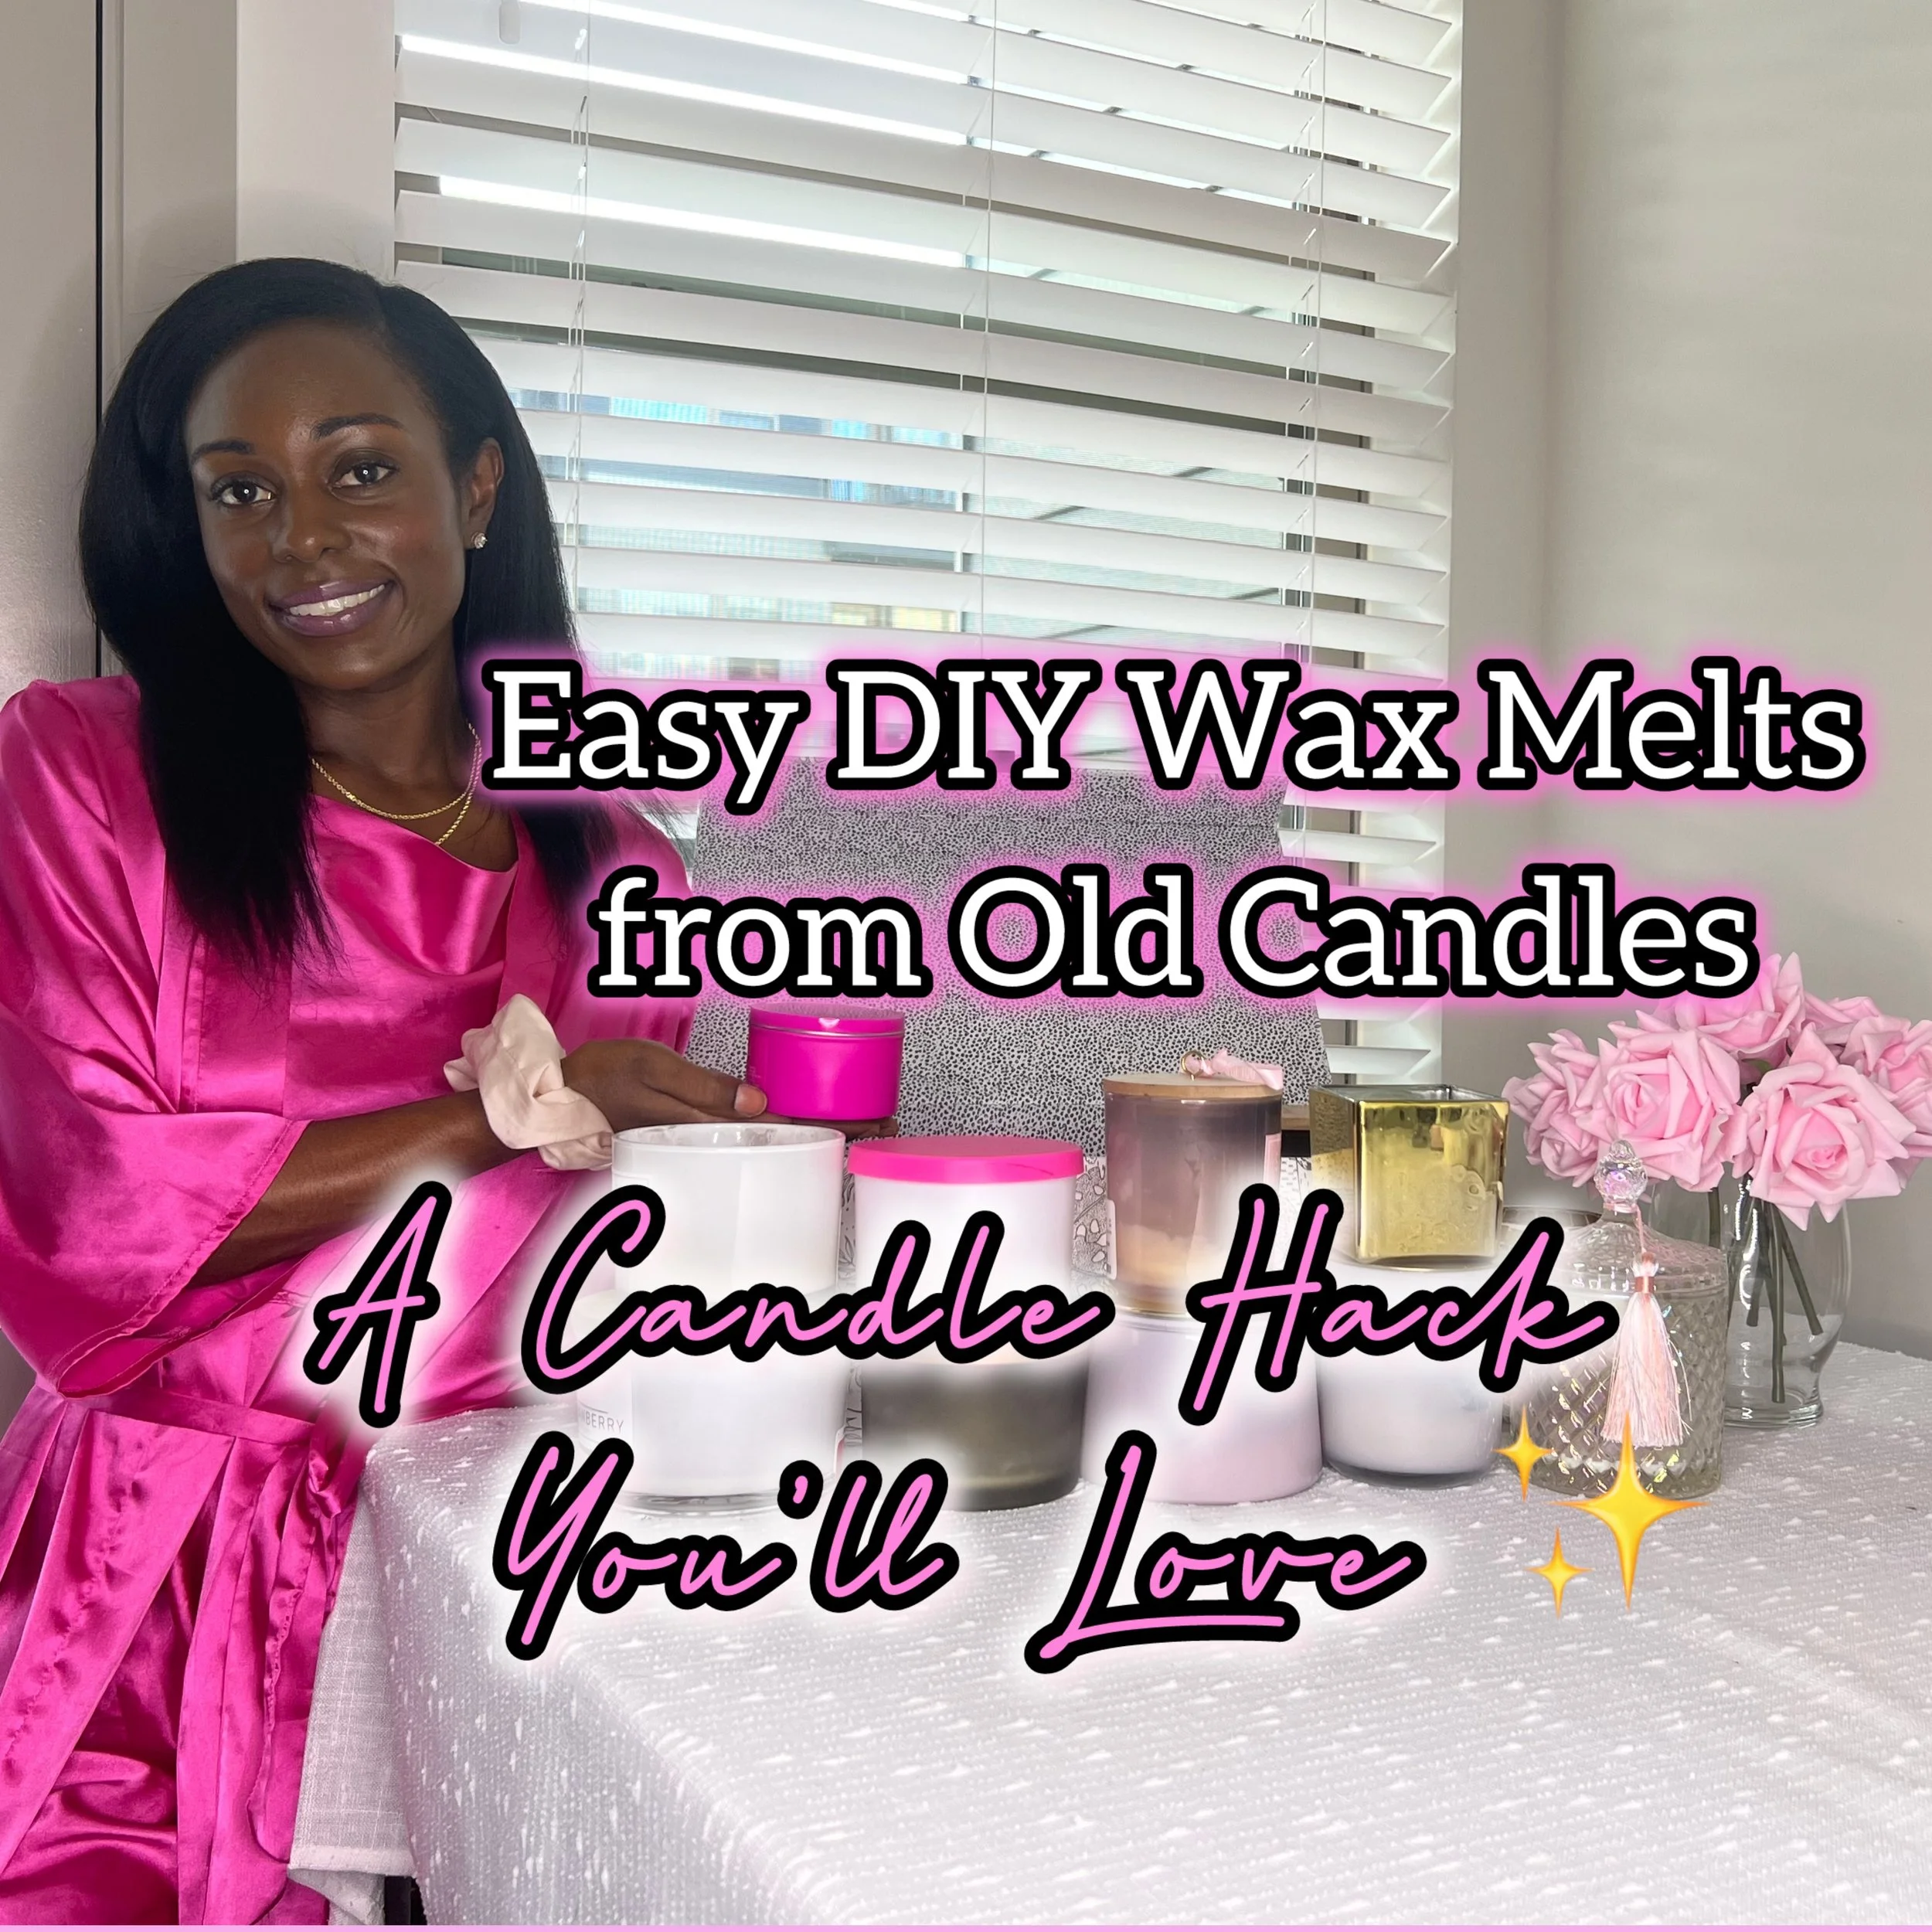
Easy DIY Wax Melts from Old Candles
Easy DIY Wax Melts from Old CandleS
Wondering “how to make my own candle wax melts” at home?
How to reuse old candles?
Looking for leftover candle wax ideas?
Turn Your Favorite Candles into a Soft, Feminine Glow-Up Ritual
This blog post includes tips and ideas on how to reuse old candles to diy create your own candle wax melts. The perfect soft girl glow activity for self care and relaxation.
How do you repurpose your old candles?
Leave a comment below and share your tips on how to make candles and wax melts last longer.
Keep reading for tips on how to repurpose your candles to create wax melts.
Repurposing Luxury Candles into DIY Wax Melts: A Soft Life Ritual
If you’re obsessed with candles like me, you’ve probably got a few around your home that burned beautifully… until the wick gave up on you. Instead of throwing them out, turn that leftover wax into gorgeous DIY wax melts. It’s the easiest soft-girl recycling moment — pretty, practical, and very on brand for a cozy luxe home.
When your space smells like who you are now and who you’re becoming, it’s easier to show up as HER.
Babes, I initially started buying candles because I had decided that I wanted to pour more into my space.
If you’ve been with Well with Brielle for a while now, then you know that we deeply believe and environmental wellness. That means creating a space that is beautiful, healthy, and truly reflects your overall higher self. In that same spirit or fashion of really wanting to maximize my environmental wellness, I knew it was important that as I was buying all of these candles to be intentional about how I to reuse old candles or repurpose them.

Many of the candle jars were gorgeous, and in general, it just seemed wasteful to recycle them, especially the amount of candles that I was literally burning through each month.
This project was born out of a desire to breathe new life into my favorite luxury candles. Instead of discarding them, I transformed their highly scented remnants into beautiful wax melts, turning a simple act into a nurturing ritual.
If you’re anything like me, you love the luxurious glow of a beautiful candle — but hate wasting the leftover candle wax at the bottom.
Today, I’m showing you how to elevate your space and save money by turning leftover candle wax into your own DIY wax melts.
It’s easy, feminine, and the perfect weekend project.

This is a custom candle I made. It smells so amazing and feels very special. I don’t burn it anymore!
Why I Started This DIY Candle Wax Melt Project:
Sustainability
Reusing leftover candle wax fits perfectly with my eco-friendly, soft-life values. Instead of throwing away old candle jars, I get more bang for my buck by repurposing the candle wax into something beautiful. It’s one of my favorite candle hacks — no waste, no guilt, just more of the luxury scents I already love.
Creativity
Engaging in creativity is a great way to tap into your inner child and play! At Well with Brielle, it's all about enhancing your mood naturally via wellness and self care. This means I love turning everyday moments into rituals. Making DIY candle wax melts at home is playful and creative — it lets me blend candle scents, add dried flowers, or even make custom wax melt shapes with silicone molds. It’s an easy DIY candle project that feels fun, feminine, and intentional/useful. It’s also one of my favorite easy candle DIY projects!
Self-Care
This process quickly became more than a craft; it’s a ritual. Melting wax, pouring it into molds, and waiting for it to set feels meditative and grounding. It reminds me that self-care isn’t just bubble baths and skincare — it’s also finding joy in small, intentional projects that elevate my space.
Why I Love This Glow-Up Ritual:
Saves money while still feeling luxe
Reduces waste in a chic way
Fills my home with soft, signature scents
Turns old candles into something new and personal
Supports sustainability with simple eco-friendly candle tips
Keep reading for a step by step guide on how to easily create your own wax melts!
Quick Note:
You can mix different leftover candle waxes when making wax melts to create your own signature scents.
However, this doesn’t work for re-pouring new candles — different wax types burn differently and can cause issues with wicks.
Stick to melts for mixing!
Let’s Get Started!
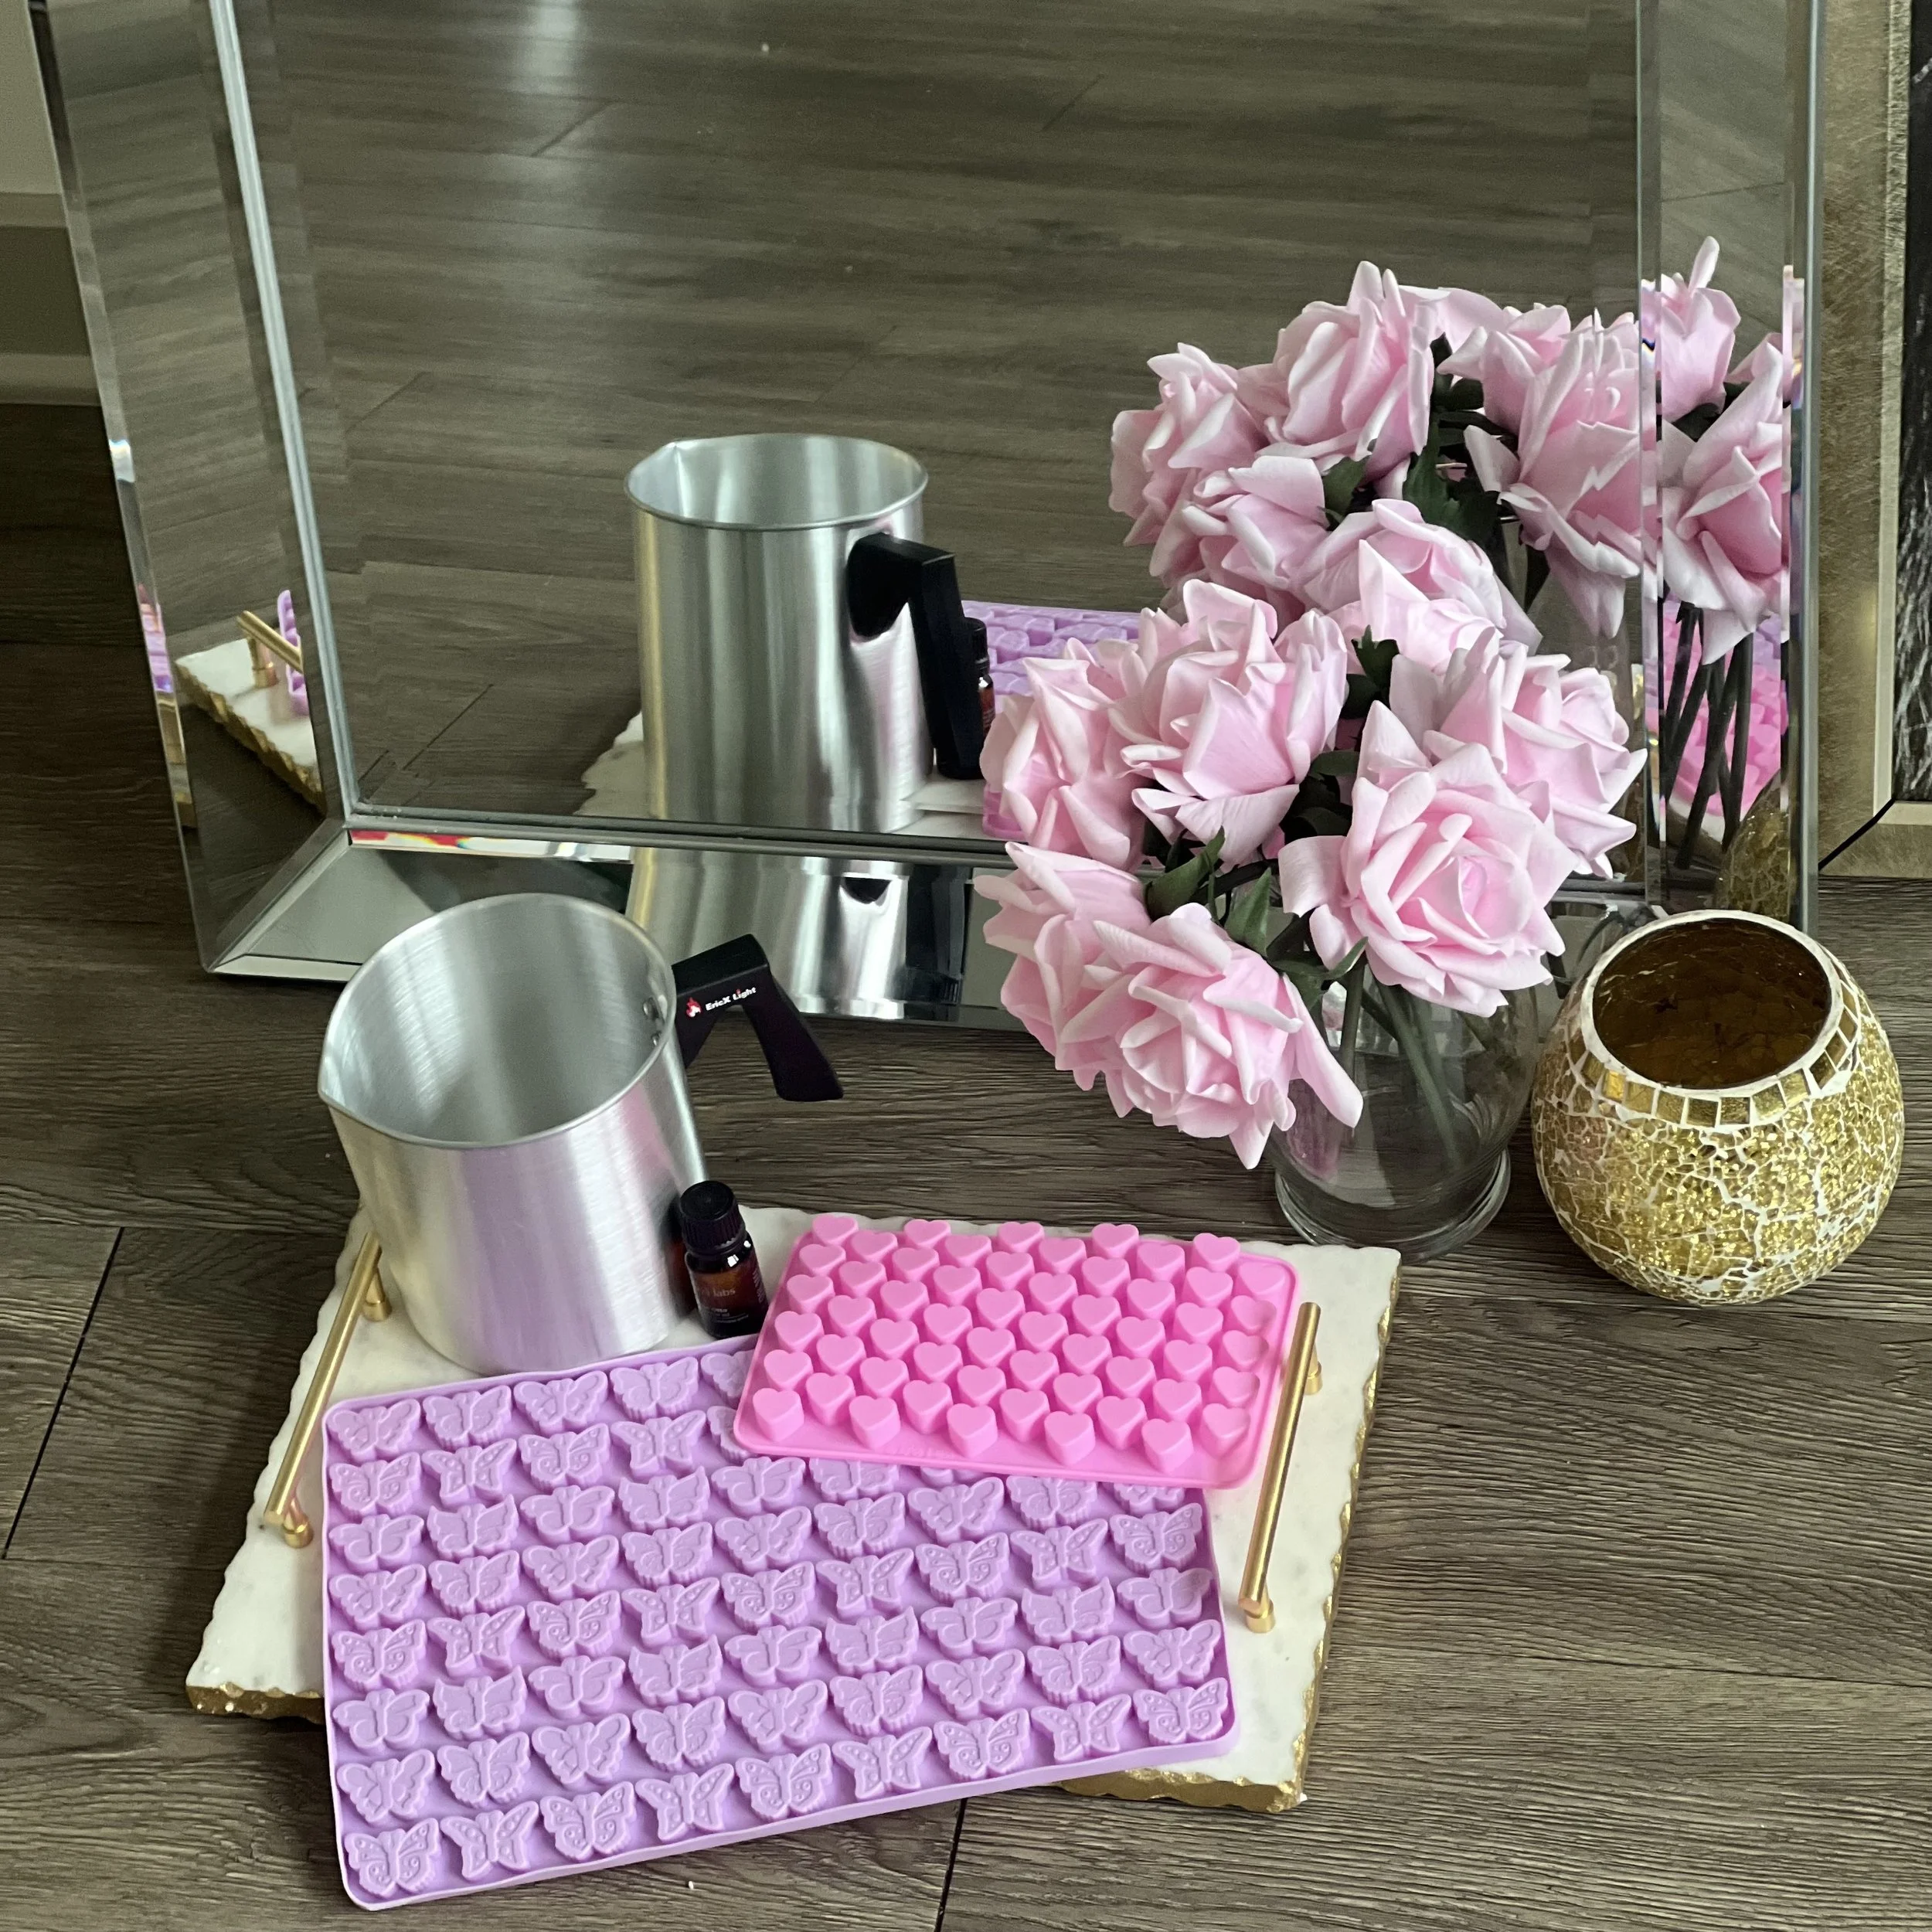
Materials/What You’ll Need to Create Candle Wax:
I’d recommend having specific materials you use for this candle wax melts DIY, so that you avoid getting wax in unwanted places. For instance, using the same spoons for wax melts and to eat, or the same previously wax-stained oven mitts to cook with.

Here are some of my Volupsa candle collection. I’m obsessed and they make such a wonderful gift!
Leftover Candle Jars with Leftover Candle Wax (I Love The Candle Brand, Volupsa! A Few Of My Favorite Scents By Volupsa Are Listed Below.)
A Butter Knife Or A Small Spoon (I’ve Included Some Cute Aesthetic Options Below)
Cute Pink And Gold Swan Spoon Holder With 6 Matching Ribbon Spoons
Elegant Pearl White And Gold Swan Spoon Holder With 6 Matching Ribbon Spoons
A Beautiful Mix Of Both Above: Pearl White And Gold Swan Spoon Holder With 6 Matching Ribbon Spoons
Hot Water (Two Methods Listed Below)
Using A Pot Like This Is Super Cute And High Quality, Le Creuset Pot In “Shallot” (Soft Faint Pink) Or A More Budget-Friendly Option Like This Pot In A Gorgeous Soft Ballerina Pink)
A Matching Le Creuset Trivet To Rest Hot Candle Wax Melt Pitcher, Pot, Etc. On
A Freezer (optional)
Wax Paper Or Parchment Paper or These Luxe Girly Wax Paper Sheets (I love so many of them, especially the gold hearts and plain pink!)
A Cute Storage Container Or Jar For Finished Melts
Reuse Your Old Candle Jars → Still The Easiest, Most Eco-Friendly Option
Luxe Pink, White Jars With Matching Glass And Gold Lids:
Clear Base With A Gorgeous Light Pink and White Checkered Pattern, Glass And Gold Knob Lid
More Compact, Fully Light Pink And White Jar Option With Matching Pink and White Checkered Pattern, Glass And Gold Knob Lid
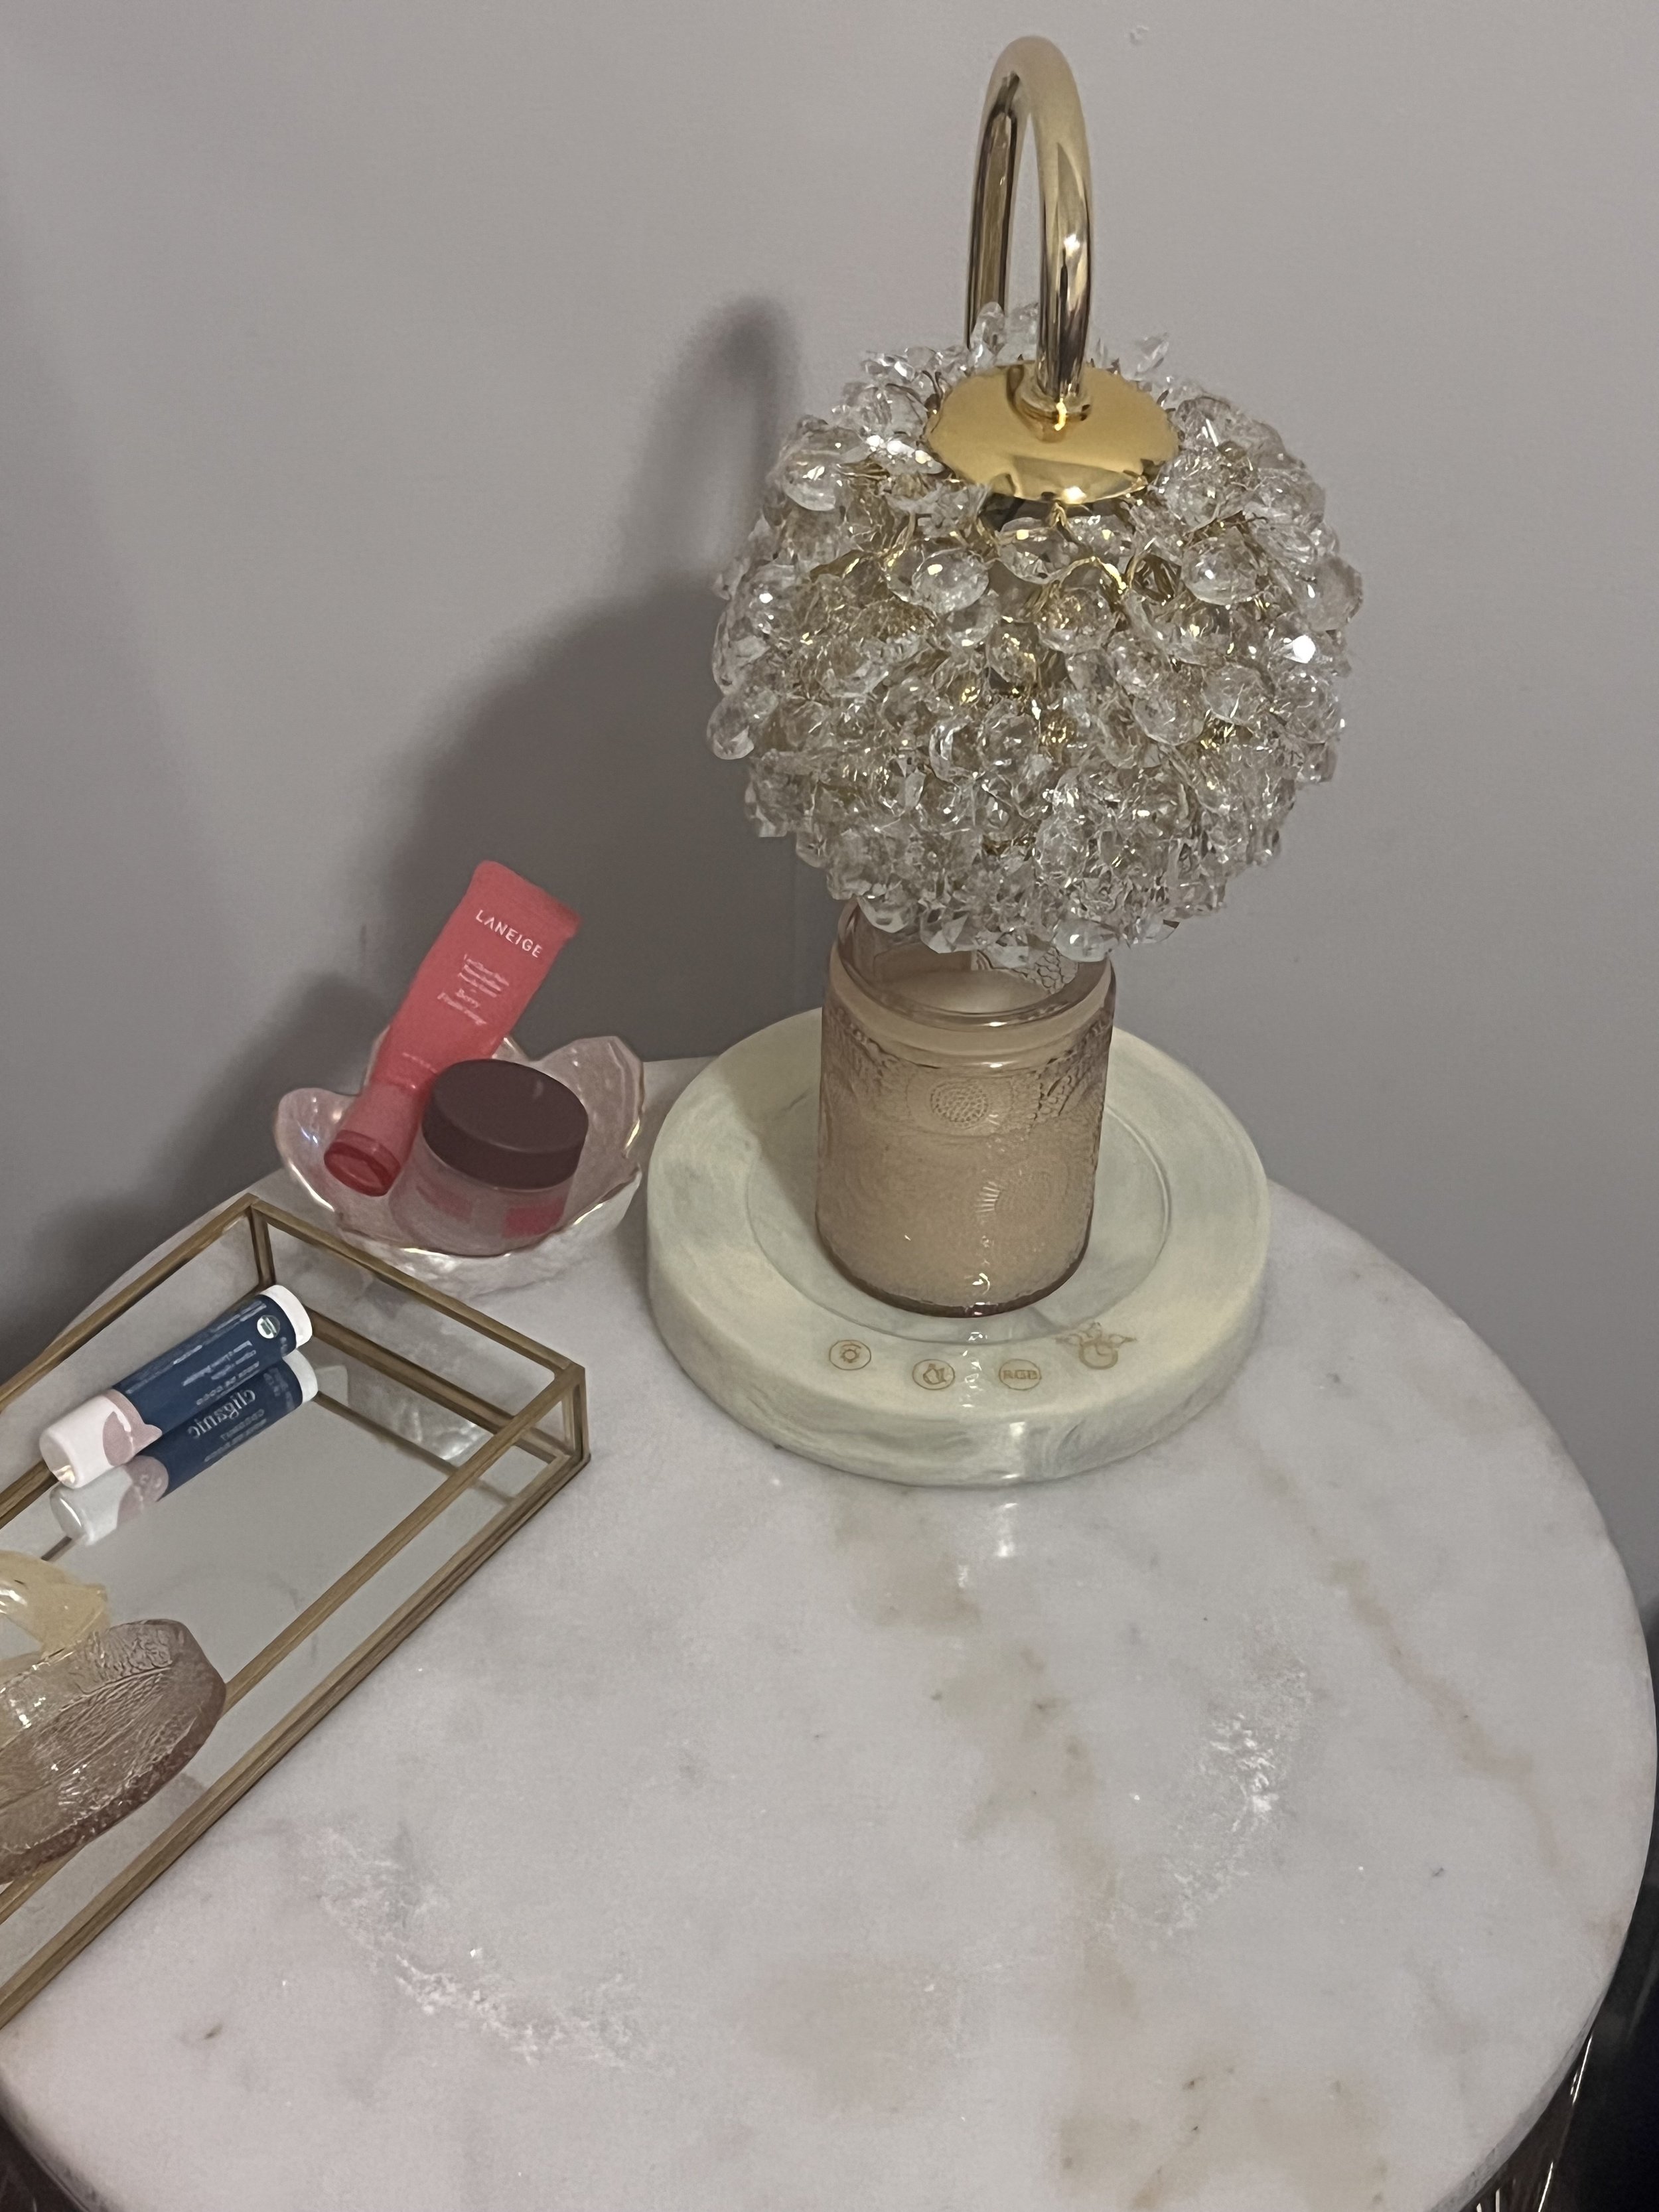
Everyday Option: A Light Pink Crystal-Cut Jar That’s Heat-Safe, Feminine, And Looks Beautiful Displayed Under A Warmer Lamp As A Wickless Candle
Luxe Splurge Option: A Light Pink and White Enamel Checkered Canister. It’s A True Statement Piece That Doubles As Storage And Display For Your Melts
Fun Options
Silicone Molds For Wax Melt Molds Or Mini Silicone Ice Cube Trays (I Chose Butterflies And Tiny Hearts For A Feminine Touch)
Electric Candle Wax Melt Warmer (Glass + Gold Trim)
If You’re Using A Crystal Warmer Lamp Like Mine, You Can Pour Your Melts Back Into A Pretty Jar (I Love This Blush Crystal-Cut One) And Let The Lamp Melt It Down Into A Wickless Candle. It’s Chic, Safe, And Keeps Your Wax Melts Looking Polished On Display.
Optional:
Dried Rose Petals (Food Grade, Organic) Or Make Your Own Like I Did!
Essential Oil - There Are So Many Cool Options To Choose From! I’ve Listed Some Of My Favorites Below.
Wick Trimmer & Candle Care Kit (Gold Set) For Candles
White Marble Tray Board with Gold Trim to work on
For Use
With your Electric Candle Wax Melt Warmer (like mine): Pour your melts into a pretty jar (everyday or luxe) and place it under the lamp → it works as a wickless candle, melting the whole batch together.
With a dish-style wax melt warmer: Drop in 1–2 melts at a time for longer, portioned fragrance.
Estimated Time:
About 1–2 hours total (mostly hands-off time while the wax freezes, softens, or sets).
Active hands-on time is about 20–30 minutes.
Step-by-Step Guide: Homemade Candle Wax Melts Tutorial
Here are instructions on how to create your own DIY Candle Wax Melts:’
What You’ll Need
Old candles with leftover wax
Candle warmer
Silicone molds
Wax paper or parchment
(Optional) Fragrance oil
(Optional) Mica or glitter
1. Prep Your Old Candles
Freeze the Candle Wax or Use the Hot Water Method
Start with your used candle jars. You’ll want the candle wax as cleanly separated from the container as possible. As seen in the video, I used the freezer method.
Freezer Method (tidy & simple): Place jars in the freezer overnight.
Place your leftover candle jars in the freezer overnight to make wax removal so much easier. Frozen wax usually pops right out. If you have a stubborn candle jar, leave it in a little longer or skip ahead for other removal methods. Use a butter knife and/or spoon to lift if needed, then cut into chunks.
Hot Water Method (faster): Pour hot water carefully into the jar and let the wax soften/float. After ~20 minutes, lift out softened chunks with a spoon and place on wax paper to cool.
Step 2: Melt the Candle Wax
Gather your candle wax chunks from your leftover candle jars and place them into the Candle Wax Melting Pitcher (Stainless Steel, Heat-Safe). Create a double boiler by setting the pitcher in a pot with simmering water. Slowly melt the wax until smooth — stirring gently. (Never microwave wax, and avoid direct flame.)
Step 3: Pour Candle Wax Into Melt Wax Molds
Set your Silicone Molds For Wax Melt Molds Or Mini Silicone Ice Cube Trays on a White Marble Tray Board with Gold Trim to work on (optional) for stability. Cover the tray and/or table with Wax Paper Or Parchment Paper or these Luxe Girly Wax Paper Sheets to contain any accidental messes and make clean up much easier.
Carefully pour the melted wax into your silicone molds.
Smaller shapes cool faster and look extra cute.
Now for the fun part:
Pour melted wax about 80–90% full in each cavity of the Silicone Molds For Wax Melt Mold.
Add optional extras for customization: sprinkle in Dried Rose Petals (Food Grade, Organic) , swirl in Mica Powder Set (Rose Golds & Neutrals) for dhimmer, or drop in drop in essential oils for added scent. I’ve Listed Some Of My Favorites Below:
Tip: Use the Wax Paper Or Parchment Paper or These Luxe Girly Wax Paper Sheets under your DIY craft area and for any messy wax mistakes like overflow while pouring wax into the molds.

Step 4: Let The Candle Wax Melts Set
Leave molds undisturbed for about an hour at room temperature, or speed things up with 15–20 minutes in the fridge. Once hardened, pop out your finished candle wax melts and admire how polished they look in butterfly or heart shapes.
Tip: Flipping the Silicone Molds For Wax Melt Mold upside down and popping them out over the Wax Paper Or Parchment Paper or these Luxe Girly Wax Paper Sheets was a super easy and low mess way to quickly pop out the beautiful wax molds fast and with minimum touching.
Related:
Step 5: Store & Enjoy
Place your new melts into a chic jar — I love reusing my luxury candle jars for this or you can use one of these cute, luxe jars:
Clear Base With A Gorgeous Light Pink and White Checkered Pattern, Glass And Gold Knob Lid
More Compact, Fully Light Pink And White Jar Option With Matching Pink and White Checkered Pattern, Glass And Gold Knob Lid
Everyday Option: A Light Pink Crystal-Cut Jar That’s Heat-Safe, Feminine, And Looks Beautiful Displayed Under A Warmer Lamp As A Wickless Candle
To use, drop 1–2 melts into your electric wax melt warmer (or your Light Pink Crystal-Cut Jar / heat-safe, cutesy container and Electric Candle Wax Melt Warmer), and let the soft fragrance fill your space. Replace when the scent fades.
You can drop one or two melts into a dish warmer for long-lasting fragrance — or, if you want to turn your whole batch into a wickless candle (like I did), pop them into a jar and use a Electric Candle Wax Melt Warmer. Both work, but the jar method uses them up faster.
Use your new wax melts in a warmer anytime you want that soft, cozy scent without lighting a wick. It’s the perfect solution if you’ve ever wondered how to make wax melts without wasting candles.
How I Use Candle Wax Melts:
These candle wax melts have become a fun part of my daily self care rituals:

Morning yoga sessions to create a calming atmosphere.
Evening baths for a spa-like experience.
During journaling to inspire reflection and intention-setting.
Final Thoughts:
Repurposing candles into DIY wax melts is more than just a fun project — it’s a self care ritual.
By reusing leftover candle wax, I turned what would’ve been waste into something soft, feminine, and intentional. It’s proof that even the smallest eco-friendly swaps can feel luxurious.
Whether you’re looking for a budget-friendly way to extend your favorite luxury candles, or you simply want a cozy DIY candle hack for your self-care routine, wax melts are the perfect solution. This homemade wax melts tutorial shows just how simple it is to turn old candles into something chic and useful. They’re quick to make, easy to customize, and they fill your space with signature scents that feel like you.
Want more DIY soft-life projects?
Check out my other glow-up guides and follow me on Instagram @WellWithBrielle for Blogmas updates and cozy home content.
Next time you’re tempted to toss out an empty jar, pause. Instead, transform that leftover candle wax into one of your signature soft life rituals that saves money, reduces waste, and makes your home smell like a dream.


Bonus Tip:
You can mix leftover candle waxes to create signature blends — think “Pink Champagne Garden” or “Cozy Vanilla Spa” vibes.
These DIY wax melts are a simple way to reuse the candles you love and create a pretty, intentional moment at home. Save this guide for your next cozy reset.
Want to create your own candle wax melts?
shop my list of what to buy now by clicking here.
Shop My Favorites for Your Self Care DIY Candle Wax Melt KIT:
These are my favorite Amazon finds for turning leftover candles into chic wax melts. From wax pitchers to pretty storage jars, these soft life tools make the DIY process easy and luxe.
Will you try out this DIY project?
Let us know in the comments below.
Don’t forget to pin this guide or share it with a friend who loves candles too!